How to Edit Photos Like a Professional: Tips and Tricks
Editing photos is an essential part of photography. Whether you are a professional photographer or just someone who likes to take pictures for fun, learning how to edit your photos like a pro can make all the difference. This post will discuss some tips and tricks that will help you improve your photo editing skills.
We’ll also provide some resources from retail-insider.com that will help you get started. So, whether you’re just starting out or you’re looking to take your editing skills to the next level, read on for tips and tricks that will help you create stunning photos every time!
Set the Brightness and Contrast
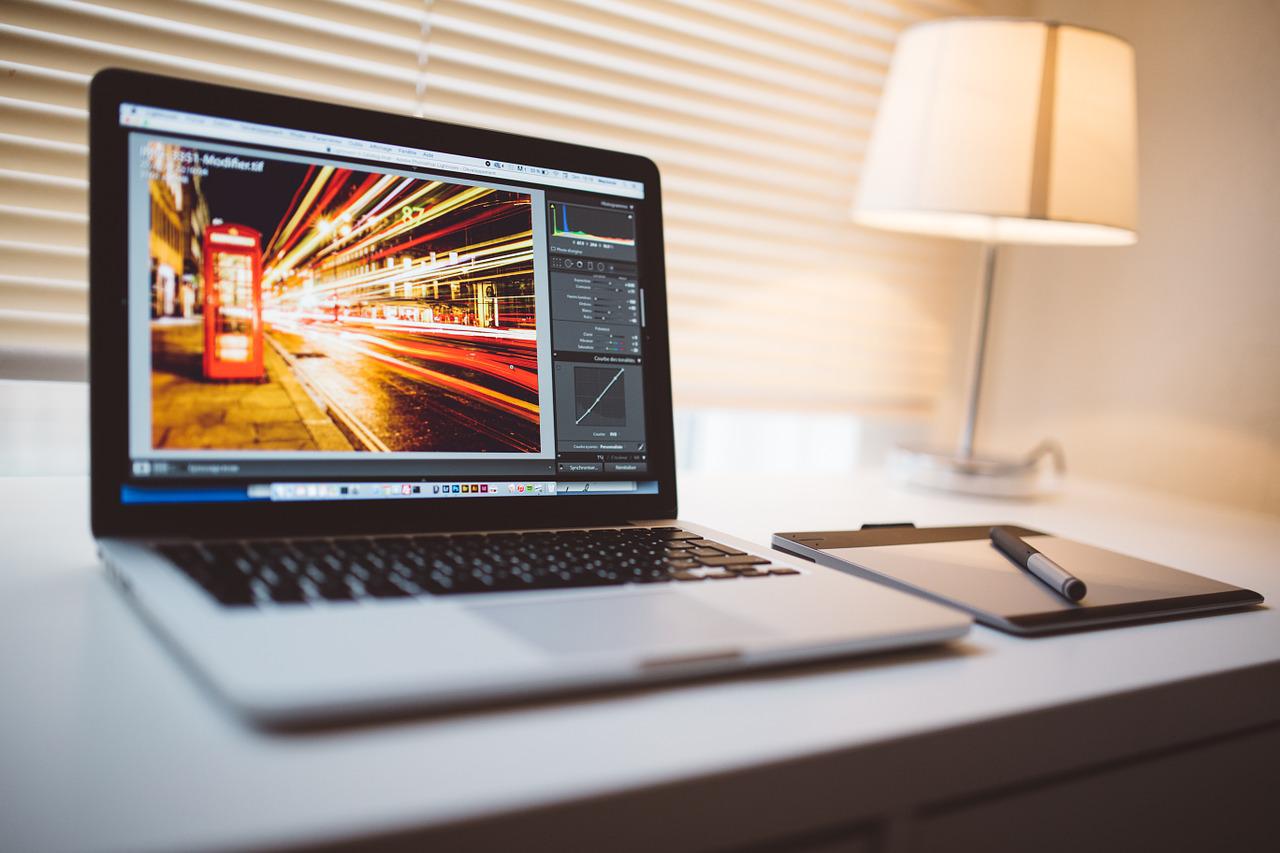
 The first step in editing your photos is to set the brightness and contrast. This can be done using many different methods, but we recommend using an editing program like Adobe Photoshop or Lightroom. There are also a number of free online editors that you can use, such as PicMonkey or Fotor.
Once you have your editor open, go to the ‘Levels’ or ‘Curves’ tool and adjust the brightness and contrast until you are happy with the results. Be careful not to overdo it, as this can make your photos look unnatural. If you’re not sure how to use these tools, there are plenty of tutorials online that can help you get started.
Crop and Resize
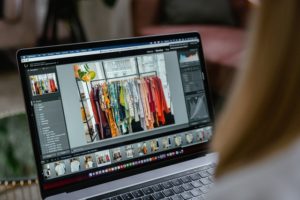
The next step is to crop and resize your photo. This can be done for several reasons, such as removing unwanted objects from the background or changing the shot’s composition. It can also create different aspect ratios for other social media platforms. For example, cropping a horizontal photo to a square can make it more suitable for posting on Instagram. Open it in your editor and select the ‘Crop’ tool to crop your photo. Then, simply drag the corners of the selection box to frame the area you want to keep. When you’re happy with the results, hit ‘Enter’ or ‘Return’ to confirm the changes. To resize your photo, go to the ‘Image Size’ menu and enter the new dimensions you want. Again, make sure you hit ‘Enter’ or ‘Return’ to confirm the changes.
Color Correction
 The next step is to color correct your photo. This can be done using some different methods, but we recommend using an editing program like Adobe Photoshop or Lightroom. There are also a number of free online editors that you can use, such as PicMonkey or Fotor.
Once you have your editor open, go to the ‘Levels’ or ‘Curves’ tool and adjust the brightness and contrast until you are happy with the results. Be careful not to overdo it, as this can make your photos look unnatural. If you’re not sure how to use these tools, there are plenty of tutorials online that can help you get started.
Now that you know how to edit photos like a pro, put your skills to the test and create some stunning images! And if you need a little help getting started, be sure to check out our resources below.